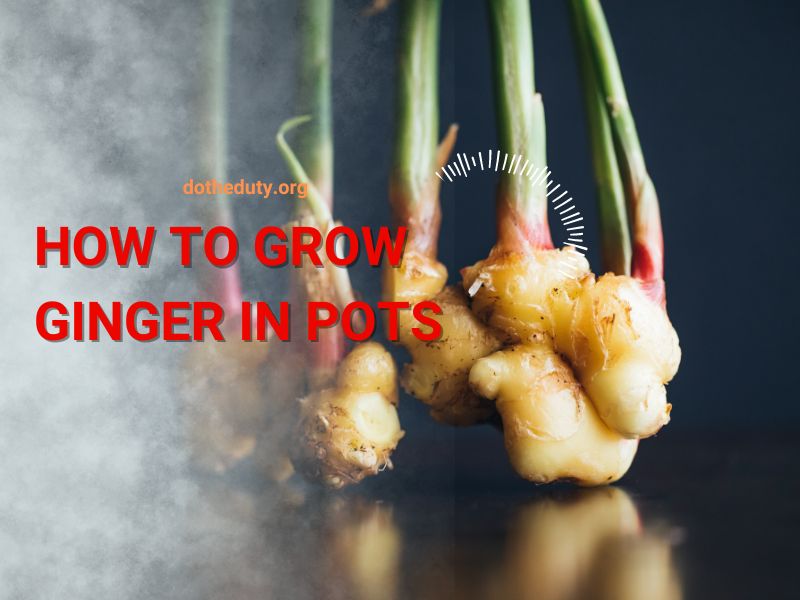
Ginger, that pungent and versatile root, isn’t just a delicious addition to stir-fries and curries – it’s a powerhouse of health benefits too! Packed with anti-inflammatory and antibacterial properties, ginger can even soothe an upset stomach. The good news? Even if you live in a colder climate, you can grow your own ginger right at home in a container.

Getting Started: Selecting Your Ginger Root
Your ginger-growing journey begins with the right rootstock. Here’s what to look for:
- Fresh and Firm: Choose a firm, light-colored ginger root that’s roughly the size of your thumb (or slightly bigger).
- Sprout Seeker: Look for those little bumps or “eyes” on the ginger root. These are the buds where new growth will emerge. Organic ginger is ideal, as conventional grocery store ginger might be treated with sprout-inhibiting chemicals.
Preparing Your Pot and Ginger Root
Now that you have your perfect ginger root, let’s get it ready for planting:
- Pot with Drainage: Choose a deep container with drainage holes at least 12 inches deep. Ginger thrives in well-draining soil, and excess water can lead to root rot.
- Soil Matters: Fill the pot with a loose and fertile potting mix that drains well. Pre-mixed options labeled for vegetables or herbs work well. You can also create your own by combining equal parts potting soil, perlite, and compost.
- Soaking for Success: Soak the ginger root in a bowl of warm water for a few hours or overnight. This helps encourage sprouting.
Planting Your Ginger Root
Time to get your hands dirty:
- Filling Up: Fill your chosen pot with the prepared soil mix, leaving a few inches of space at the top.
- Eye on the Prize: Place the ginger root with the “eyes” facing upwards and gently cover it with 1 to 2 inches of soil.
- Watering Wisely: Give your newly planted ginger a light watering. Remember, ginger prefers moist but not soggy soil.
Growing Ginger In Containers: How To Care For Ginger In Pots
With planting complete, here’s how to nurture your ginger to grow strong and healthy:
- Sunshine Preference: Ginger enjoys bright, indirect sunlight. A south-facing window is ideal indoors. Avoid harsh afternoon sun that can scorch the leaves.
- Water Watch: Water your ginger plant regularly, allowing the top inch of soil to dry slightly between waterings. Overwatering is a common pitfall, so err on the side of underwatering.
- Feeding Time: Every six to eight weeks, fertilize your ginger plant with a diluted solution of fish emulsion, seaweed extract, or another organic fertilizer.
- Patience is a Virtue: Don’t expect overnight results! Ginger takes its time to grow. You should see new shoots emerge from the eyes within a few weeks.
Harvesting Your Homegrown Ginger
The wait has paid off! Here’s how to harvest your delicious ginger after several months of growth:
- Timing is Key: Ginger is typically ready for harvest 8 to 10 months after planting, when the leaves begin to turn yellow in the fall. Be sure to harvest before the first frost arrives in your area.
- Unearthing the Treasure: Carefully remove the entire plant from its pot.
- Cleaning Up: Gently remove as much soil from the ginger rhizomes (roots) as possible using your hands. Rinse the ginger thoroughly under running water to remove any remaining soil.
- Enjoy or Store: You can use your fresh ginger immediately in recipes or store it for later use. Ginger can be refrigerated for several weeks or frozen for longer-term storage.
Bonus Tip: With a bountiful harvest, you can replant some of your ginger rhizomes to keep the cycle going and enjoy homegrown ginger season after season!


